
Mastering the Cut: The Ultimate Guide to Modern Video Editing
In an age dominated by visual content, video has become the undisputed king. From viral TikToks and engaging YouTube essays to cinematic brand advertisements and personal wedding films, the power to tell a story through moving images is more accessible than ever. But behind every great video lies an invisible art form: video editing.
Video editing is far more than just trimming clips and sticking them together. It's the heart of post-production, a craft that blends technical precision with creative intuition. It's about shaping a narrative, controlling pace, evoking emotion, and ultimately, connecting with an audience. This guide will walk you through the entire process, from organizing your footage to applying the final, cinematic polish.
The Three Pillars of Post-Production
The journey from raw footage to a finished video can be broken down into three fundamental stages. Understanding this workflow will keep you organized and prevent you from feeling overwhelmed.
1. The Assembly: Building Your Story's Skeleton
This is the foundational stage where you organize your raw materials and create the basic structure of your video. Think of it as sorting your ingredients before you start cooking.
- Logging and Organization: Before you even make a single cut, you need to organize your footage. This involves watching everything you shot, labeling your clips descriptively (e.g., "Wide Shot - Interview," "B-roll - Hands Typing"), and sorting them into folders or "bins" within your editing software. This initial time investment will save you hours of searching later.
- The Assembly Cut: Here, you'll lay out your primary clips onto the timeline in chronological or narrative order. For an interview or documentary, this means placing all the main talking head segments. For a narrative film, it's about laying out the scenes as they appear in the script. Don't worry about perfect timing or smooth transitions yet—the goal is simply to get the story's skeleton in place. This is your rough draft.
2. The Refinement: Fleshing Out the Narrative
With the basic structure established, it's time to refine it. This is where you start making creative decisions, tightening the pacing, and adding visual context.
- The Fine Cut: You'll go through your assembly cut with a fine-toothed comb, trimming every clip to its essential parts. You'll perfect the timing of cuts to enhance comedic effect or heighten dramatic tension. This is also where you'll employ techniques like J-cuts and L-cuts, where the audio from the next clip begins before the video (J-cut) or the audio from the previous clip continues over the new video (L-cut). These techniques create a seamless, professional flow and are essential for smooth dialogue scenes.
- Adding B-Roll: B-roll is any supplemental footage used to enrich your story. If someone is talking about their coffee shop, you'll cut to shots of espresso machines, latte art, and happy customers. B-roll serves multiple purposes: it adds visual interest, provides context, illustrates what the speaker is talking about, and can be used to cleverly hide jump cuts in an interview.
3. The Polish: Adding the Professional Sheen
This is the final stage where your video transforms from "good" to "great." It's all about enhancing the viewer's sensory experience through color and sound.
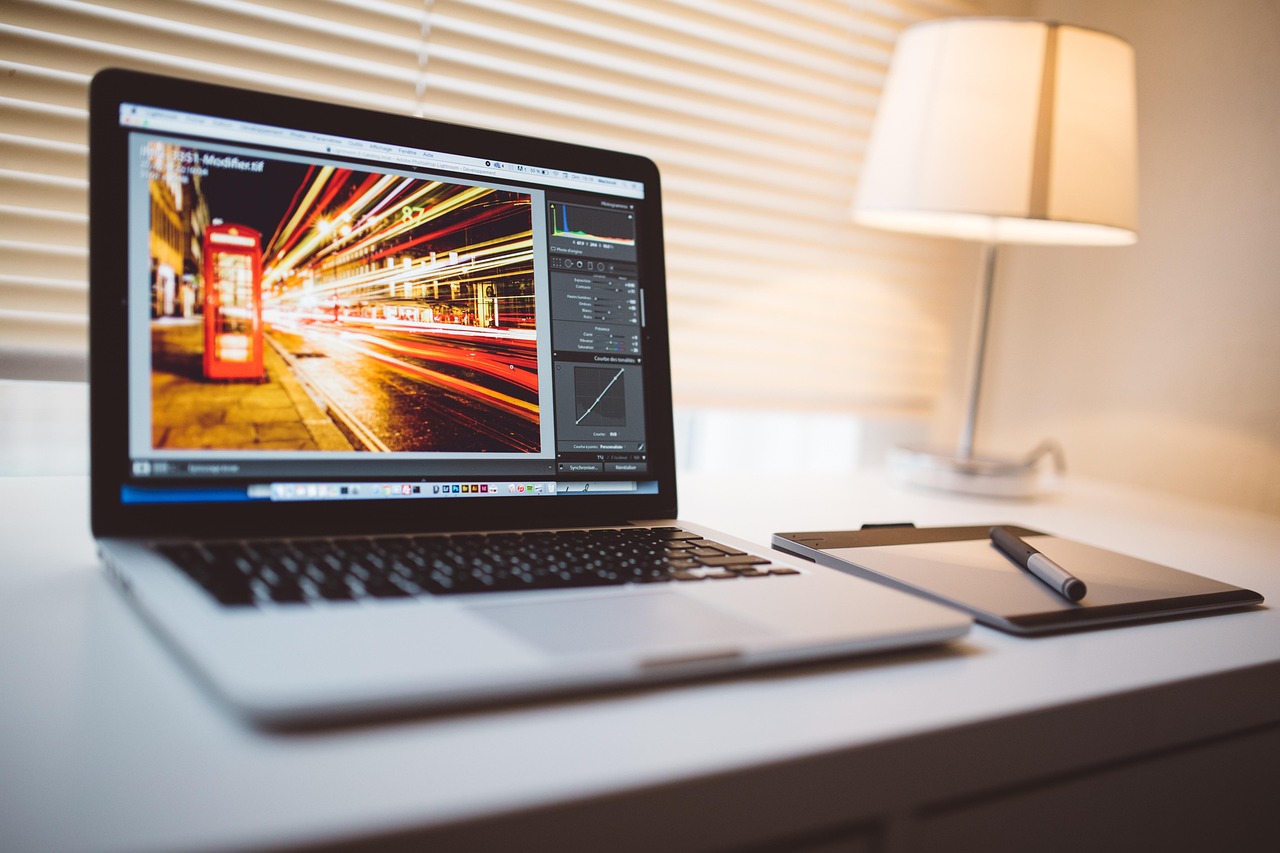
- Color Correction and Grading: First, you correct your footage to ensure colors are accurate and exposure is consistent between shots. Then, you grade the footage to create a specific mood or style. Warm, golden tones can evoke nostalgia, while cool, desaturated blues can create a sense of unease or a futuristic vibe.
- Sound Design and Mixing: Audio is 50% of the video experience. This stage involves cleaning up dialogue, adding music to set the mood, incorporating sound effects (SFX) to add impact and realism, and ensuring all audio levels are balanced in a final mix. Never underestimate the power of great sound.
Choosing Your Weapon: A Guide to Video Editing Software
The software you use is your primary tool. While the principles of editing are universal, the right software can make your workflow faster and more intuitive.
For Beginners (and those on a budget)
- DaVinci Resolve (Free Version): Arguably the most powerful free video editor on the market. It offers professional-level editing, visual effects, motion graphics, and world-class color grading tools all in one application. The learning curve is steeper than some, but the payoff is immense.
- CapCut / VN Video Editor: These mobile-first editors are perfect for creating social media content on the go. They are incredibly user-friendly, feature-rich with effects and templates, and make it easy to export in vertical formats.
- iMovie (macOS/iOS) & Clipchamp (Windows): These are the built-in options that come with your operating system. They are simple, intuitive, and a fantastic starting point for absolute beginners to learn the basics of timeline editing.
For Professionals and Enthusiasts
- Adobe Premiere Pro: The long-standing industry standard for a reason. Its deep feature set, integration with the Adobe Creative Cloud (After Effects, Photoshop, Audition), and cross-platform availability make it a versatile workhorse for everything from YouTube videos to feature films.
- Final Cut Pro (macOS only): Known for its speed, optimization for Apple hardware, and unique "magnetic timeline" which helps prevent clip collisions and sync issues. It's a favorite among many YouTubers and independent content creators.
- DaVinci Resolve Studio (Paid Version): The paid version unlocks even more advanced features, collaborative tools, and powerful AI-based functions. It's rapidly becoming the all-in-one solution of choice for studios and high-end professionals.
Essential Video Editing Techniques Every Creator Should Know
Mastering a few core techniques can dramatically elevate the quality of your edits.
-
Master Your Keyboard Shortcuts: The single biggest thing you can do to speed up your editing is to take your hand off the mouse. Learning the primary keyboard shortcuts for your software is non-negotiable for an efficient workflow.
// Common "Three-Point" Editing Shortcuts J: Play in reverse K: Pause L: Play forward (tapping multiple times increases speed) // Common Tool Shortcuts C: Cut / Razor Tool (for splitting clips) V: Selection Tool (for moving clips) I: Mark In-Point O: Mark Out-Point -
The Art of the Cut: A cut is the most basic transition, but when and how you cut is an art form.
- Cut on Action: If a person is standing up, cut from a wide shot to a medium shot in the middle of the action. This makes the cut feel invisible to the viewer because their eye is following the motion.
- Hide Your Edits with B-Roll: In an interview, if you cut out a section where the speaker stumbled on their words, you'll create a "jump cut" where their head seems to teleport. To hide this, cover the edit with a relevant B-roll clip.
-
Pacing is Everything: The rhythm of your cuts dictates the energy of your video. Rapid-fire cuts can create excitement and urgency, perfect for a product launch or a movie trailer. Conversely, letting a shot linger can build suspense, create a moment for emotional reflection, or establish a calm, serene mood. Pay attention to the feel of your edit, not just the content.
Beyond the Cut: The Magic of Color and Sound
A truly polished video engages more than just the narrative part of the brain; it creates a holistic, sensory experience.
The Psychology of Color Grading
Color is a powerful storytelling tool that works on a subconscious level.
- Warm Tones (Yellows, Oranges, Reds): Often associated with happiness, love, nostalgia, or even anger. Think of a romantic scene during a golden-hour sunset.
- Cool Tones (Blues, Greens, Cyans): Can evoke sadness, isolation, tranquility, or a futuristic/technological feel. The Matrix is a classic example with its iconic green tint.
- Saturation: Highly saturated colors can feel vibrant and energetic, while desaturated (or black and white) footage can feel serious, historic, or somber.
The Power of Sound Design
Close your eyes during a movie scene. The sound tells its own story. A great sound mix is built in layers:
- Dialogue: Must be clean, clear, and easy to understand. This is the foundation.
- Music: The score or soundtrack is the primary emotional driver. It tells the audience how to feel.
- Sound Effects (SFX): From the swoosh of a title card to the subtle clink of a coffee cup, SFX adds realism and impact to the world you're creating.
- Ambiance: The background noise of a location—the hum of a city, the chirping of crickets, the murmur of a crowd—is what makes a scene feel immersive and real.
Video editing is a journey of continuous learning. It's a craft where technical proficiency serves a higher purpose: storytelling. The tools and techniques are constantly evolving, but the core principles of
Generate by Gemini 2.5 Pro